Easy Bow Drawing
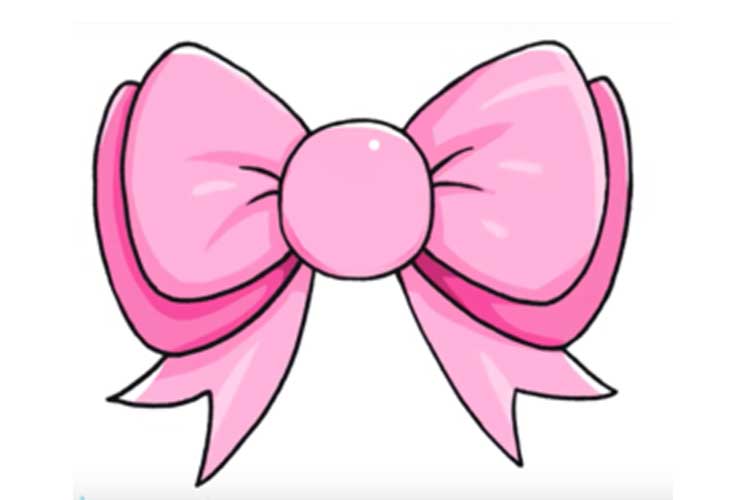
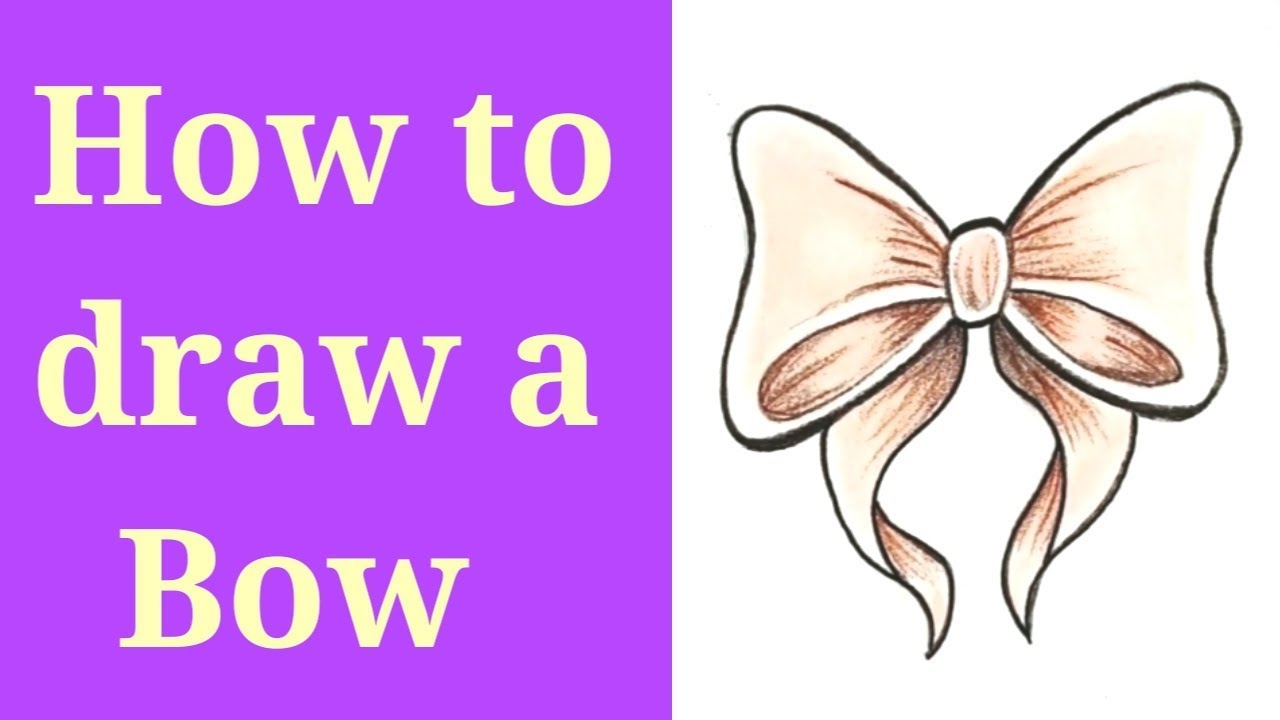
Easy Bow Drawing - Allow them to meet at a point, forming the arrowhead. Did we keep our promise? You can do as i have or you can opt for two tones, one for the bottom layer and one for the surface layer. It helps you get better at art and make really pretty pictures! I really hope you found this bow tie drawing to be fun and simple to follow. Web learn how to draw this cute bow step by step. Draw a small curved rectangle at the top of the shaft. The next thing we need to do is draw the ends of the bow. Then, draw a curved line at the top of the rectangle, extending beyond its sides. Web drawing a bow is super fun! Web for example, if you’re drawing a bow tie or a simple hair bow. 4) draw a vertical line equally dividing the left half of the rectangle. But let’s keep adding more details to make it a bit more fancy. Draw a straight line down its center. Draw the bottom outline of the bow loops. Allow them to meet at a point, forming the arrowhead. Draw a small curved rectangle at the top of the shaft. Web learn how to draw this cute bow step by step. Complete the drawing of the middle of the bow. Wasn’t it easy learning how to draw a bow? I really hope you found this bow tie drawing to be fun and simple to follow. You can do as i have or you can opt for two tones, one for the bottom layer and one for the surface layer. Web drawing a bow is super fun! Web how to draw a bow. Web learn how to draw this cute. Draw a straight line down its center. Web drawing a bow is super fun! Similarly, draw a horizontal line equally dividing the bottom half of the rectangle. Complete the drawing of the middle of the bow. That brings us to the end of our tutorial on how to draw a bow. There are a lot of different ways you can draw these. In this video, we show you how you can start your first rea. Allow them to meet at a point, forming the arrowhead. Web drawing a bow is super fun! From each end of this line, extend a straight line. Web add some finishing touches by coloring your bow tie appropriately. Add in a couple of curved lines to show the folds of the bow. That brings us to the end of our tutorial on how to draw a bow. Then, draw a curved line at the top of the rectangle, extending beyond its sides. Draw the bottom outline of. Web add some finishing touches by coloring your bow tie appropriately. Draw the bottom outline of the bow loops. Connect the ends of the previously drawn lines with curved lines, and add lines in the middle. Don’t forget, practicing and being patient are super duper important when you’re learning any artsy stuff! It helps you get better at art and. Or if you just want a basic bow drawing. Similarly, draw a horizontal line equally dividing the bottom half of the rectangle. Web to make your bow tie look like a pretty bow, draw two shapes like this from the center of the bow. Web 3) draw another horizontal line equally dividing the upper half of the rectangle. I really. 4) draw a vertical line equally dividing the left half of the rectangle. That brings us to the end of our tutorial on how to draw a bow. Make sure one ribbon is more curved than the other and you’ve finally finished your bow drawing. Allow them to meet at a point, forming the arrowhead. Then, draw a curved line. Start drawing the middle of the bow. Complete the drawing of the middle of the bow. Make sure one ribbon is more curved than the other and you’ve finally finished your bow drawing. Web 3) draw another horizontal line equally dividing the upper half of the rectangle. The next thing we need to do is draw the ends of the. This super easy drawing lesson is perfect for kids. Web 3) draw another horizontal line equally dividing the upper half of the rectangle. To complete this step, you have to draw two similar short curved lines opposite each other. Draw a straight line down its center. Or if you just want a basic bow drawing. 4) draw a vertical line equally dividing the left half of the rectangle. Add in a couple of curved lines to show the folds of the bow. This super easy drawing lesson is perfect for kids. Web learn how to draw this cute bow step by step. Web 3) draw another horizontal line equally dividing the upper half of the. Similarly, draw a horizontal line equally dividing the bottom half of the rectangle. Web add some finishing touches by coloring your bow tie appropriately. Similarly, draw a vertical line equally dividing the right half of the rectangle. You can do as i have or you can opt for two tones, one for the bottom layer and one for the surface layer. The next thing we need to do is draw the ends of the bow. Allow them to meet at a point, forming the arrowhead. But let’s keep adding more details to make it a bit more fancy. Did we keep our promise? Web how to draw a bow. From each end of this line, extend a straight line. Then, draw a curved line at the top of the rectangle, extending beyond its sides. Connect the ends of the previously drawn lines with curved lines, and add lines in the middle. Web learn how to draw this cute bow step by step. In this video, we show you how you can start your first rea. Wasn’t it easy learning how to draw a bow? Make sure one ribbon is more curved than the other and you’ve finally finished your bow drawing.![How To Draw A Christmas Bow Step by Step [6 Easy Phase & Video]](https://easydrawings.net/wp-content/uploads/2020/04/Overview-included-for-Bow-drawing.jpg)
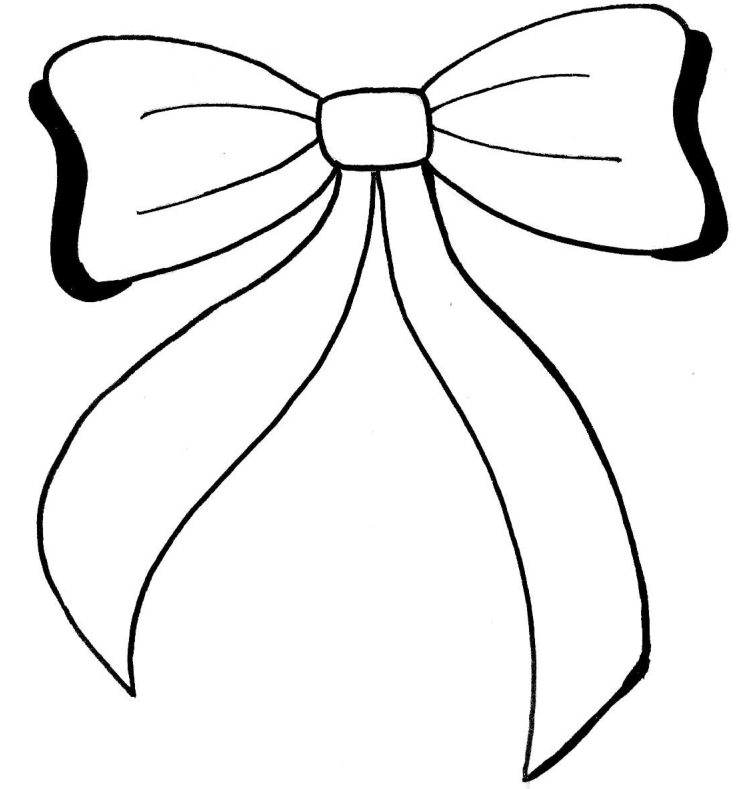
How To Draw A Christmas Bow Step by Step [6 Easy Phase & Video]

How To Draw A Bow Tie
Bow Drawing How To Draw A Bow Step By Step!

How to draw a Bow In Pencil, Simple and three options
How To Draw A Bow In 5 Steps Easy Drawing Tutorial Craftsonfire
How to draw a Bow In Pencil, Simple and three options
How to draw a Bow (Step by Step) YouTube

How To Draw A Bow A Comprehensive Guide IHSANPEDIA
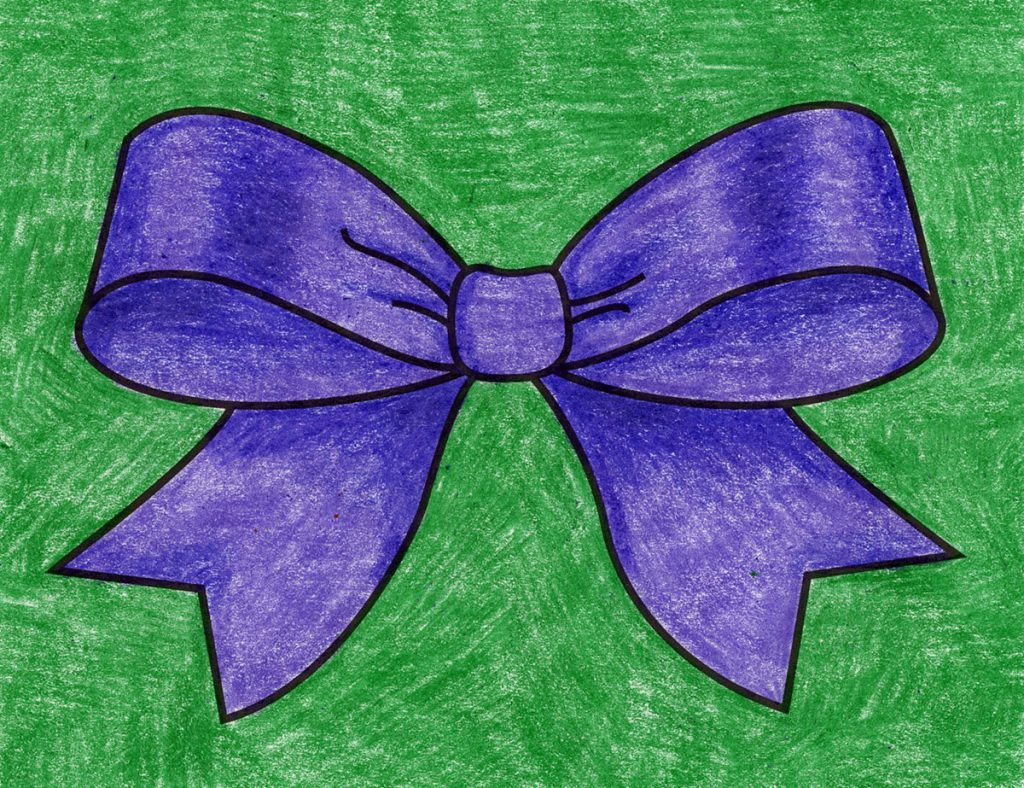
How to Draw a Bow · Art Projects for Kids

How to Draw a Christmas Bow Step by Step Super Easy! YouTube
Web For Example, If You’re Drawing A Bow Tie Or A Simple Hair Bow.
Or If You Just Want A Basic Bow Drawing.
Draw A Straight Line Down Its Center.
Web 3) Draw Another Horizontal Line Equally Dividing The Upper Half Of The Rectangle.
Related Post: